Frights and Fun: A Halloween Celebration
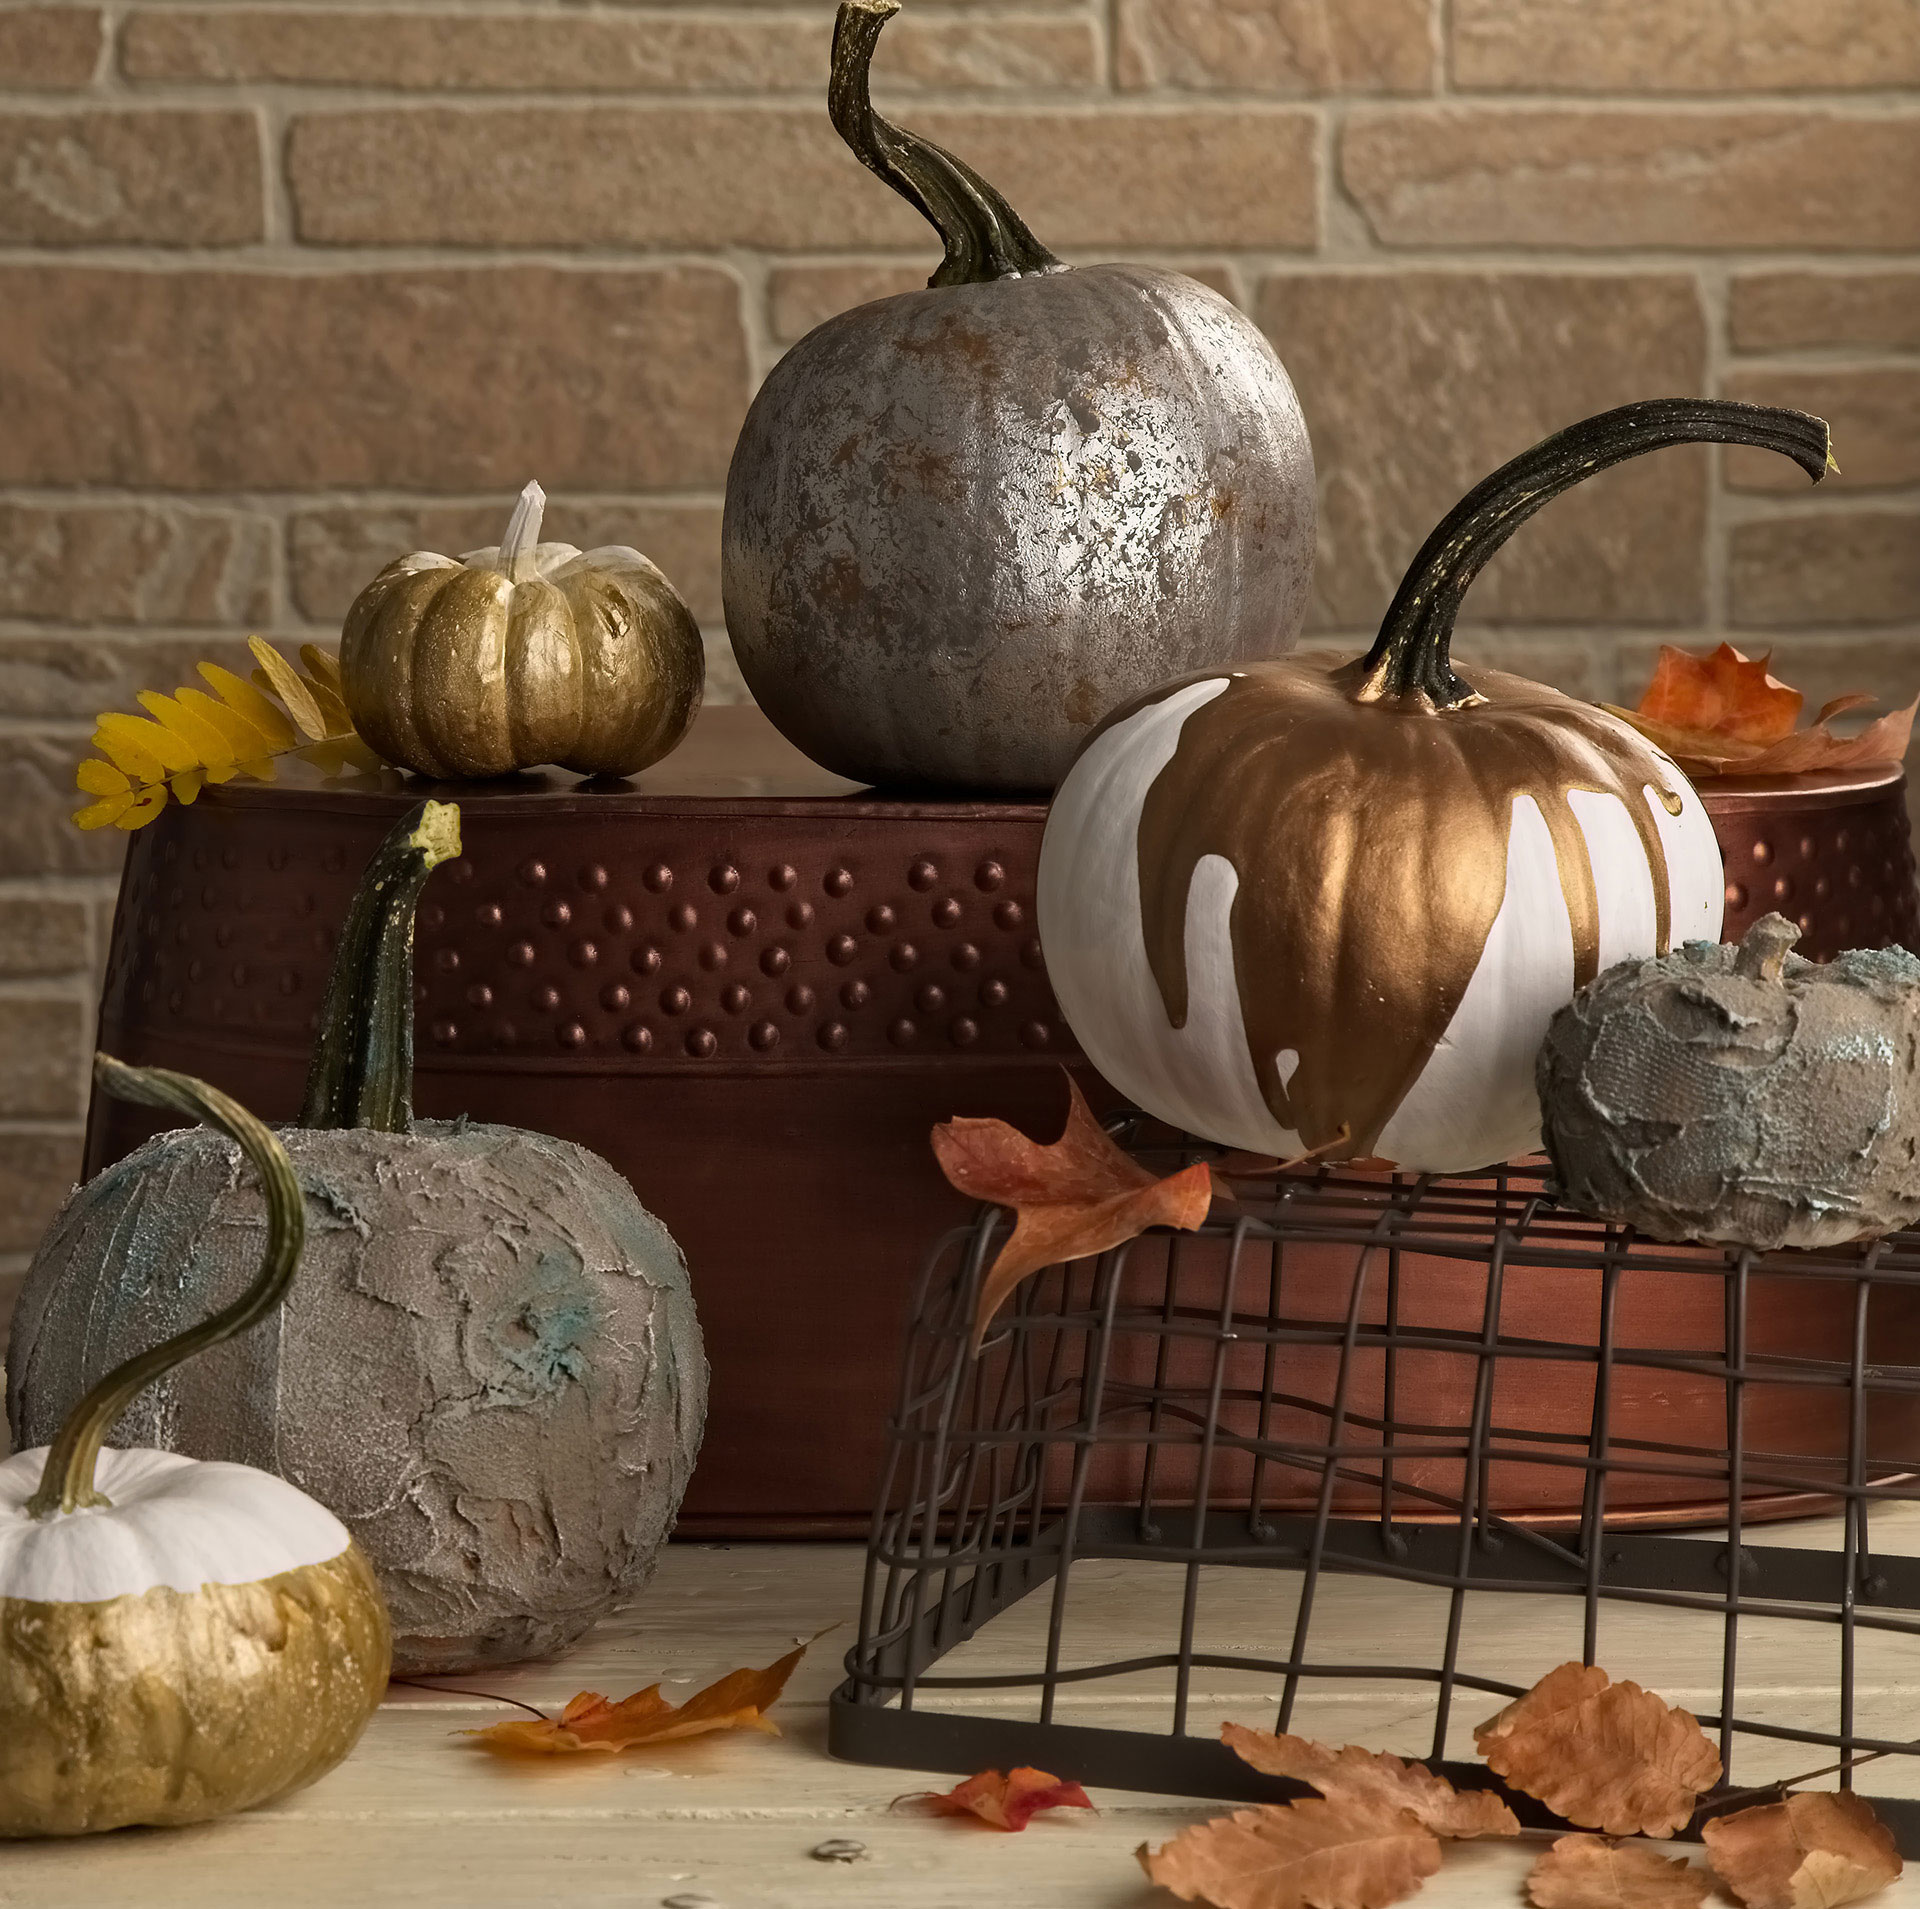
Perfectly Painted Pumpkins
If there’s one thing that’s certain about Halloween season, it’s the mess that always seems to come with carving pumpkins. As fun as the activity can be, it’s almost guaranteed to leave a sticky trail of seeds and gourd guts in its wake.
Luckily, there’s a decorative alternative that not only looks great but also won’t leave your kitchen looking like a crime scene—painting your pumpkins!
Mirrored Pumpkin
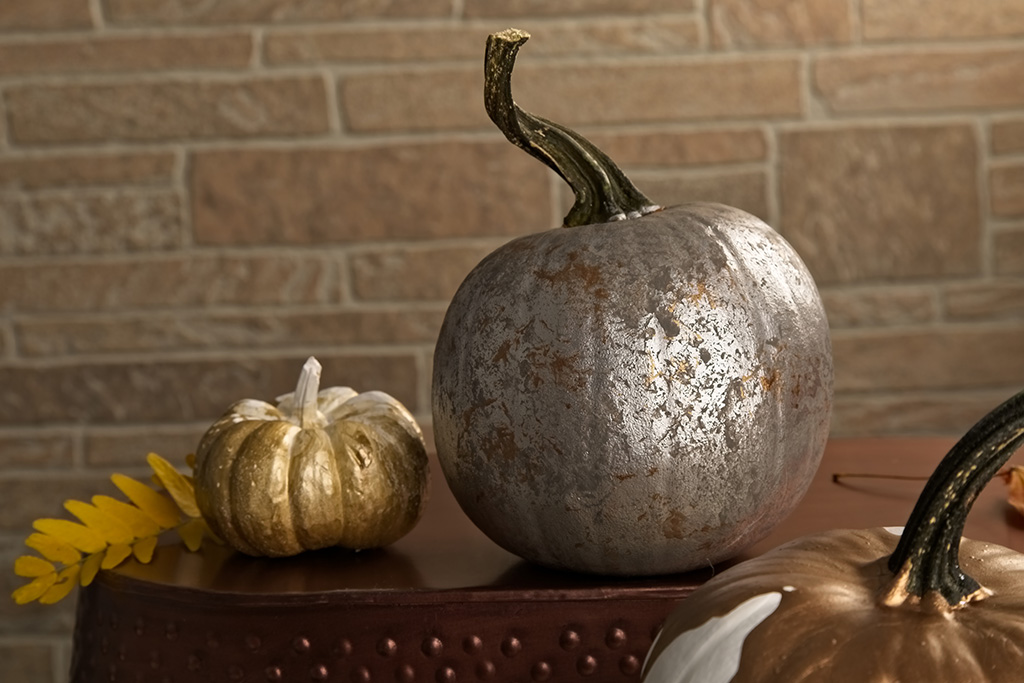
Give your gourds a shiny reflection with a little coat of paint.
Materials:
- Painter’s tape
- Pumpkin
- Mirror spray paint
- Place painter’s tape around the stem of the pumpkin.
- Spray a thin coat of mirror spray paint to cover the pumpkin. Let dry, and repeat with additional coats, if needed, until pumpkin is completely covered.
- Allow the pumpkin to dry, remove painter’s tape from the stem, and display.
Metallic Drippy Pumpkin
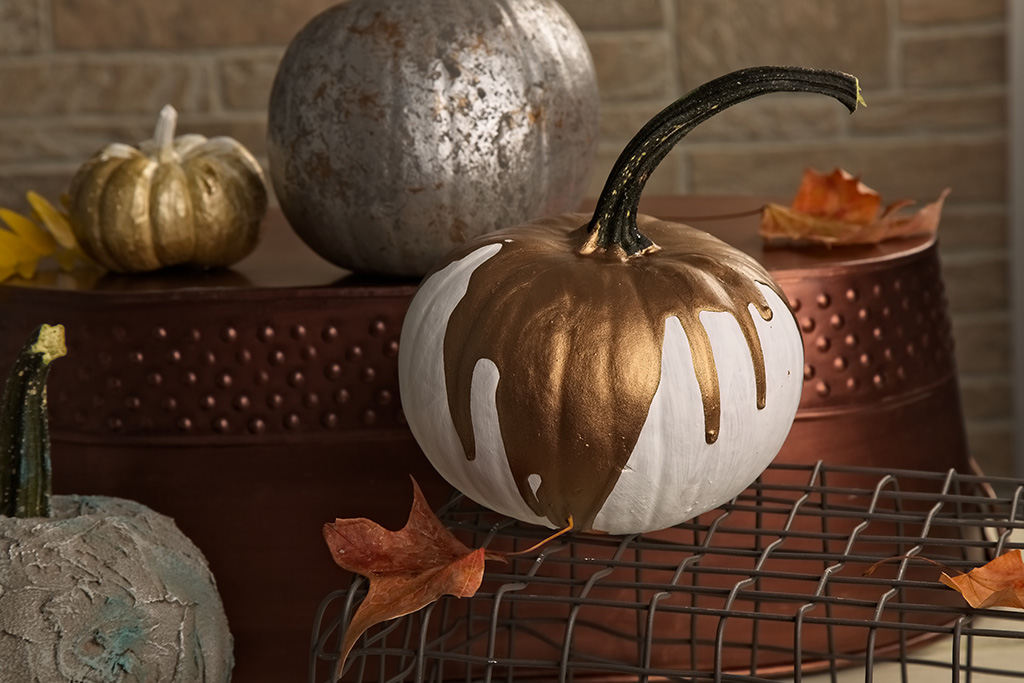
These pumpkins are dripping with style—literally!
Materials:
- Paintbrush
- White acrylic paint
- Pumpkin
- Metallic bronze acrylic paint
- Paint a base layer of white onto the pumpkin, and allow to dry.
- Carefully pour the metallic bronze paint over the top of the pumpkin, avoiding the stem.
- Tilt the pumpkin around, allowing the metallic paint to drip down the sides, and let dry.
Rustic Concrete Pumpkin
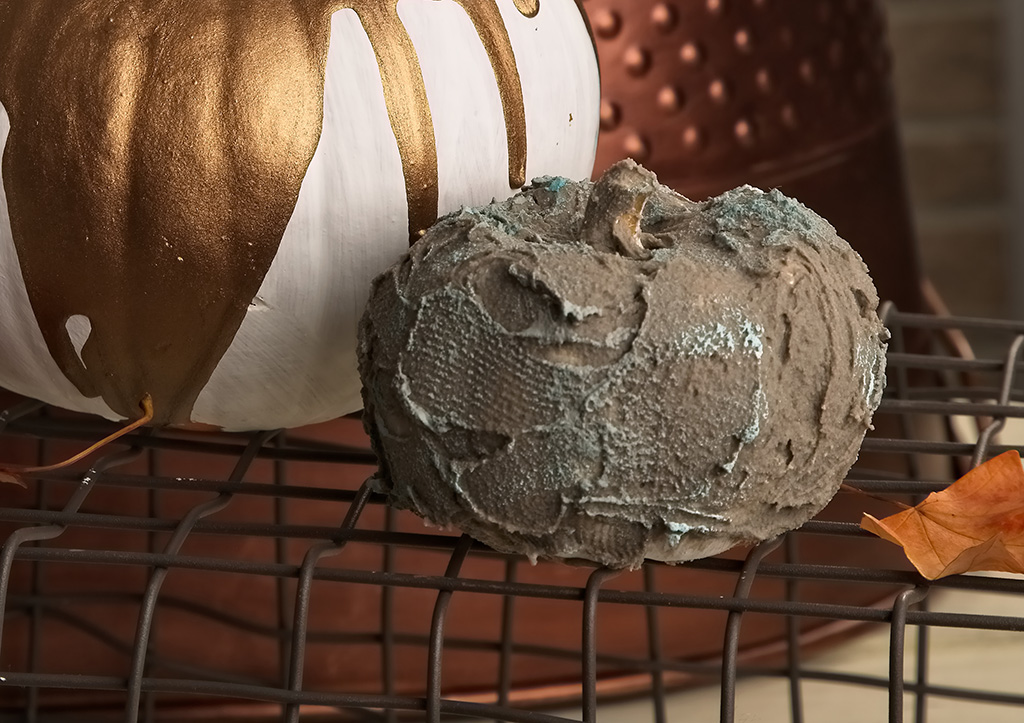
Give your pumpkins an industrial look with concrete.
Materials:
- Pumpkin
- Paper towel
- Water
- Putty knife
- Premixed concrete
- Acrylic paints (teal, white, gray)
- Paintbrush
- Clean the surface of your pumpkin with a damp paper towel.
- Once dry, use the putty knife to thoroughly cover the pumpkin in the premixed concrete. Allow to dry for four hours or until completely hardened.
- Using short strokes, paint the concrete, alternating between the teal, white, and gray paints, and allow to dry.

Posted in October 2020 on Aug 02, 2020