Fun in the Backyard Sun
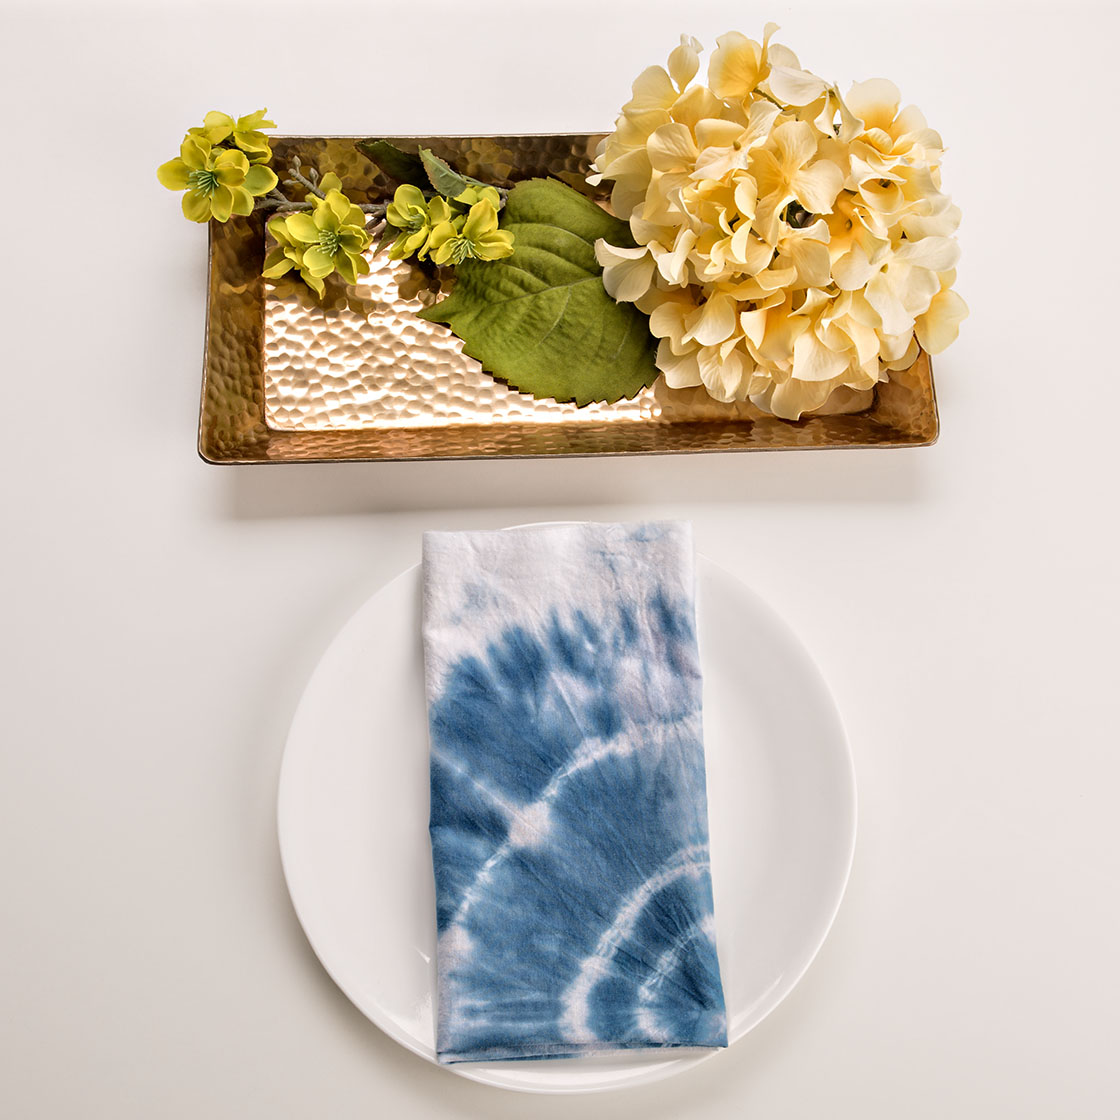
Shibori-Style Tie-Dye
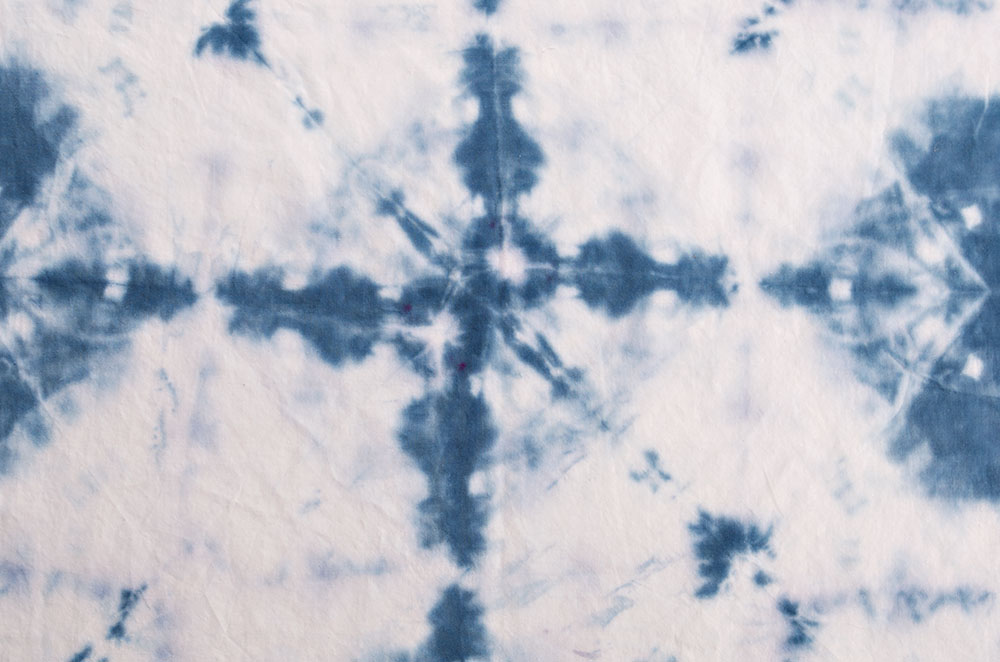
Shibori is an ancient Japanese tie-dye technique that makes beautiful and unique designs using natural indigo dye. However, you can use any color or combination of colors you want for this project. It’s one colorful DIY activity your guests will love!
Tips: It is recommended that you put on gloves before working with dye. Use this indigo tie-dye kit to achieve the styles pictured.
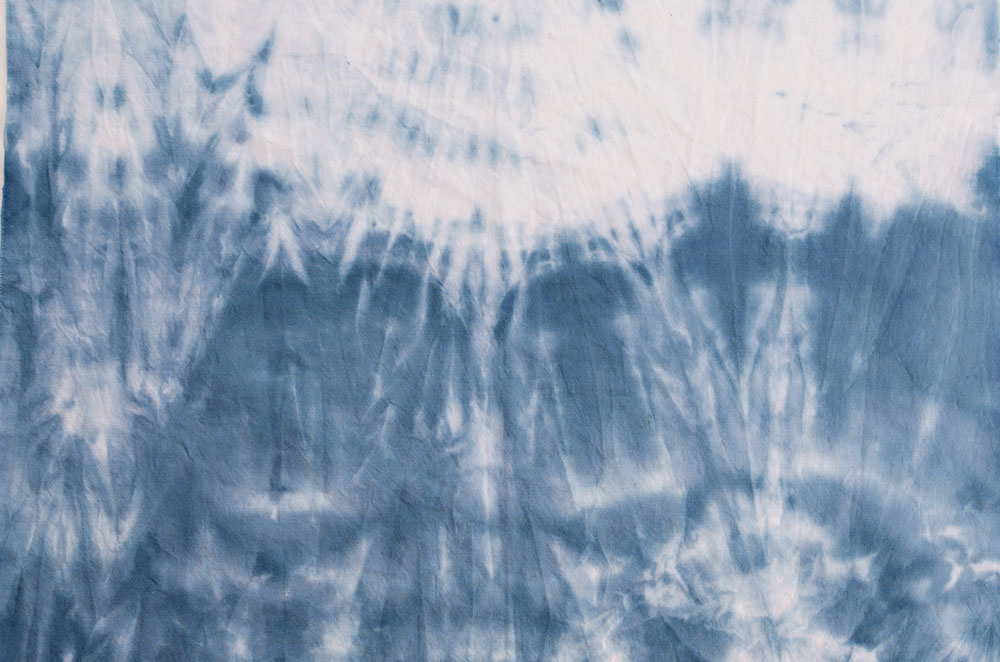
Arashi Shibori
For a diagonal, slash-like tie-dye pattern that looks similar to rainfall, try the Arashi method of Shibori.
Materials
- Prewashed cotton fabric (e.g., T-shirts, pillowcases, tablecloths)
- PVC pipe or cylinder
- Thin wire or thread
- Gloves
- Fabric dye
- A bucket, for dyeing
- Wrap the fabric in a diagonal motion around a cylinder or PVC pipe.
- Bind tightly with thin wire or thread.
- Scrunch the cloth down on the cylinder, and prepare the dye in a bucket according to package instructions. Submerge the fabric into the dye for 5 minutes. Repeat the process for a deeper hue.
- Unfold right away for less bleeding, or leave the fabric folded so the dye continues to soak.
- After 20 minutes, rinse the fabric in water, squeeze, and let it hang to dry.
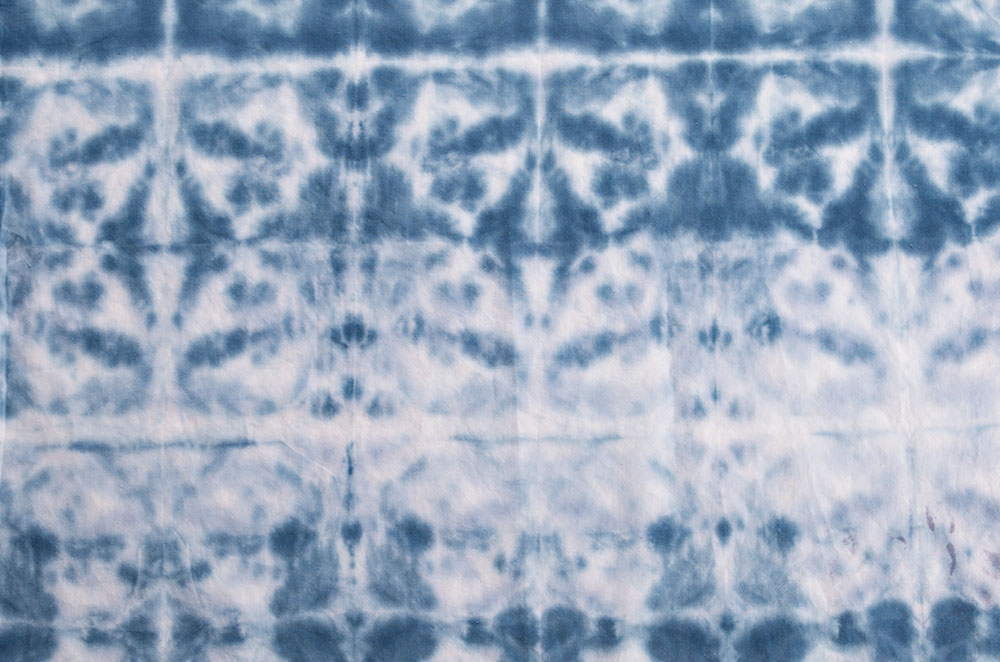
Itajime Shibori
For a more random pattern, try Itajime. It will create a distinct look based on the shape the fabric is held in.
Materials
- Prewashed cotton fabric (e.g., T-shirts, pillow cases, tablecloths)
- Two thin pieces of wood, patterned or solid
- Clamps
- Gloves
- Fabric dye
- A bucket, for dyeing
- Fold the fabric like an accordion, and secure it between two pieces of wood, in any shape that you like.
- Clamp the wood together.
- Prepare the dye in a bucket according to package instructions. Submerge the fabric into the dye for 5 minutes. Repeat the process for a deeper hue.
- Unfold right away for less bleeding, or leave the fabric folded so the dye continues to soak.
- After 20 minutes, rinse the fabric in water, squeeze, and let it hang to dry.
Kanoko Shibori
Another way to achieve a more random pattern is with Kanoko, which will also create a pattern based on the way the fabric is secured.
Materials
- Prewashed cotton fabric (e.g., T-shirts, pillowcases, tablecloths)
- Rubber bands
- Gloves
- Fabric dye
- A bucket, for dyeing
- Fold random sections of fabric, and secure each with a rubber band. The amount of color that’s transferred will depend on how tightly the fabric is bound.
- Prepare the dye in a bucket according to package instructions. Submerge the fabric into the dye for 5 minutes. Repeat the process for a deeper hue.
- Unfold right away for less bleeding, or leave the fabric folded so the dye continues to soak.
- After 20 minutes, rinse the fabric in water, squeeze, and let it hang to dry.
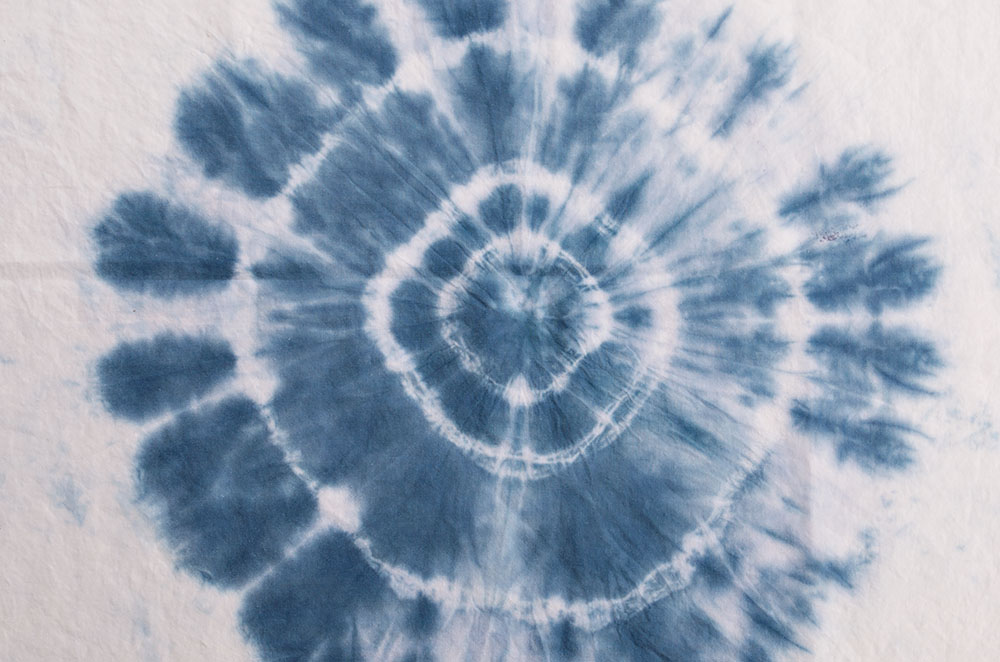
Kumo Shibori
To see a spider-web-like tie-dye design in your fabric, try the Kumo method.
Materials
- Prewashed cotton fabric (e.g., T-shirts, pillowcases, tablecloths)
- Thin wire or thread
- Gloves
- Fabric dye
- A bucket, for dyeing
- Pleat or fold the fabric in tight folds, and bind closely together with thin wire or thread.
- Prepare the dye in a bucket according to package instructions. Submerge the fabric into the dye for 5 minutes. Repeat the process for a deeper hue.
- Unfold right away for less bleeding, or leave the fabric folded so the dye continues to soak.
- After 20 minutes, rinse the fabric in water, squeeze, and let it hang to dry.

Posted in July 2019 on May 21, 2019