
A Painting Primer
Pablo Picasso once said, “Painting is just another way of keeping a diary.” Granted, the famed artist was talking about putting paint on canvas, but this perspective can also be applied to your home.
When you think about it, painting a room is just another way of expressing yourself. Changing up a wall color reflects your mood, mindset, and influences at that very moment—a visual sort of a diary that speaks volumes to others when they enter the room.
Knowing how to do the job properly is of utmost importance. And, just as Picasso turned to fellow artist Paul Cézanne to learn proper techniques, you should absorb all you can from the way pro painters go about their craft. When you do, you will be prepared to turn your vision into a reality.
PREPPING
As any seasoned painter will tell you, getting ready for the project is key to making sure it is a success. Here are some ideas to help you prep like a pro.
-
Pay Up
One simple rule trumps all others: buy the best tools and paints you can afford. If you purchase cheap rollers, for example, your paint will likely be uneven, the rollers won’t last long, and you’ll probably need to put in extra work to correct it. Instead, use the following: -
 ROLLERS How do you like your nap? That is, the amount of fuzziness on your roller cover. Most are ⅜ inch or ½ inch; the latter holds more paint but can cause uneven rolling. Most packaging describes what jobs the rollers are ideal for, but in general, synthetic is better for latex paint and natural-fiber for oil-based paint.
 -
BRUSHES Determine the sizes and number that you need, such as a smaller one (½ inch to one-inch wide) for tight spaces and a larger one (two- to three-inch) for more open ones.
-
PAINT AND PRIMER Consider how durable you want your paint to be, and then choose accordingly on a scale from matte (great coverage but not long-lasting) to more heavy-duty high-gloss. In addition, people often think that primer is an unnecessary luxury, but it’s worth it for the evenness it provides.
-
FILLER AND SANDPAPER You’ll want to fill in every single indentation, usually with spackle or painter’s putty, and smooth out any imperfections before you paint. Fine sandpaper is preferable over coarse unless you have some serious patchwork. If you do multiple coats of paint, prepare to sand between coats as well.
-
AN EXTENSION POLE Nicole Gibbons, the owner of online paint store Clare, says that this is her go-to tool, and most pros agree that it saves on time and straining—especially with ceilings—for both sanding and painting.
-
LIGHTEN UP
You’d be amazed at how many factors—such as the time of day or the color of your paint—can completely mask holes, indentations, and other imperfections that you won’t see until the new coat of paint has dried. Use a good portable light source before and during painting to find them before they cause trouble.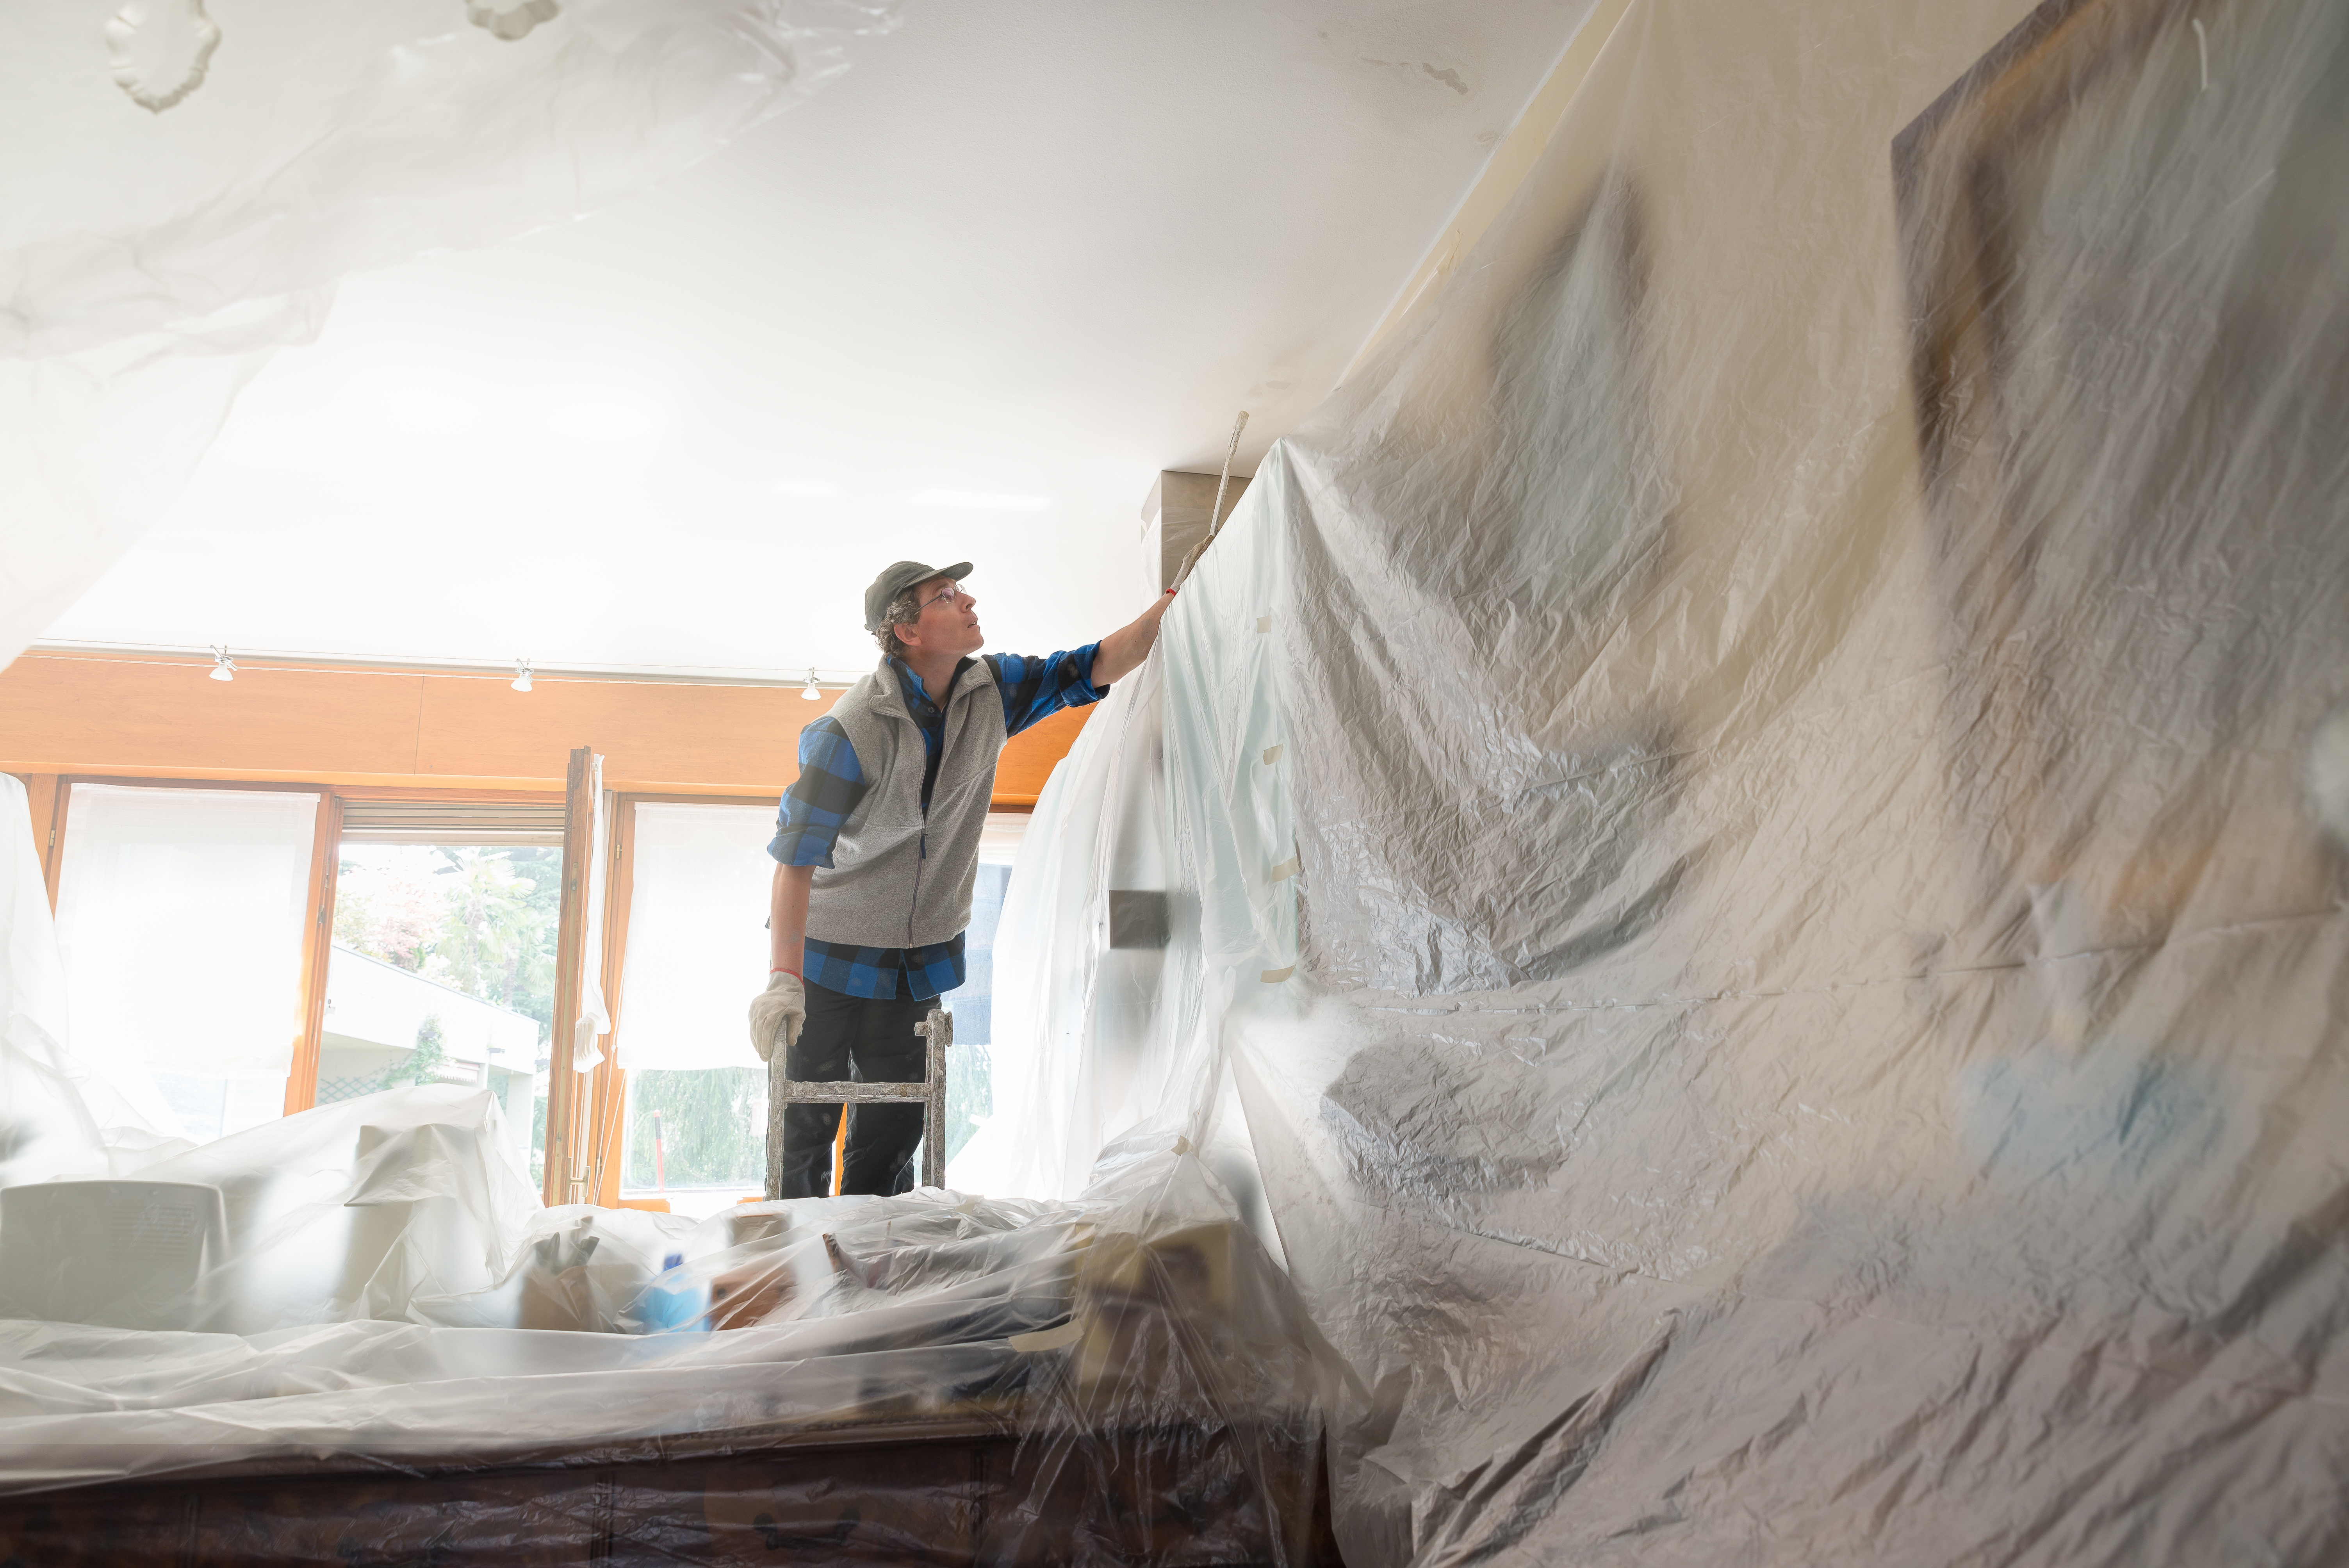
-
Cover it up
You’ve just spent an ample amount of money on supplies, so don’t make yourself shell out even more because you didn’t take the proper precautions to protect the contents of the room. Move furniture and other items into the center of the room, and cover them completely. Better yet, remove anything you can from the room, especially light fixtures, light switch covers, and socket covers.
In addition, the floor will inevitably get splattered with paint and covered in sanding dust, so lay drop cloths throughout. Again, it’s worth paying a little extra for cloth or canvas ones—plastic ones tend to rip and let paint through and can be tripping hazards.
Before you begin painting a wall, add painter’s tape to the edge of the trim, since it’s specifically made for the job. Use a putty knife to make a smooth bond on the edge, or leave the tape tapered out to catch more paint splatter. -
mix it UP
Have you ever bought multiple cans of the same paint color, only to find that they look slightly different when you apply them? As it turns out, pro painters usually use a method called “boxing,” which means they combine all the paint being used into one large container—thus ensuring consistency throughout the job.

Painting
Now the fun begins! Painting a room—or something within the room—can be transformative for both the overall look of your home and your happiness. But you’ll only get the results you want if you follow a few simple principles.
-
Be intentional
Without knowing it, people usually paint backward, going from wall to trim to ceiling. But seasoned painters often take a different route—starting with the ceiling and working their way down, doing the walls or the trim last. Also, focus on one wall at a time, painting around any trim edges with your smaller brush before filling in the bulk of the paint with a roller. -
Be careful
Use a deft, light touch when painting. For example, only dip the first inch and a half or so of your brush into the paint, and then tap it on the sides of the can to distribute it evenly onto the brush. There’s also a tendency to smash rollers against the wall, but that’s an unnecessary and inefficient method. Instead, let the roller and extension rod do the work for you. -
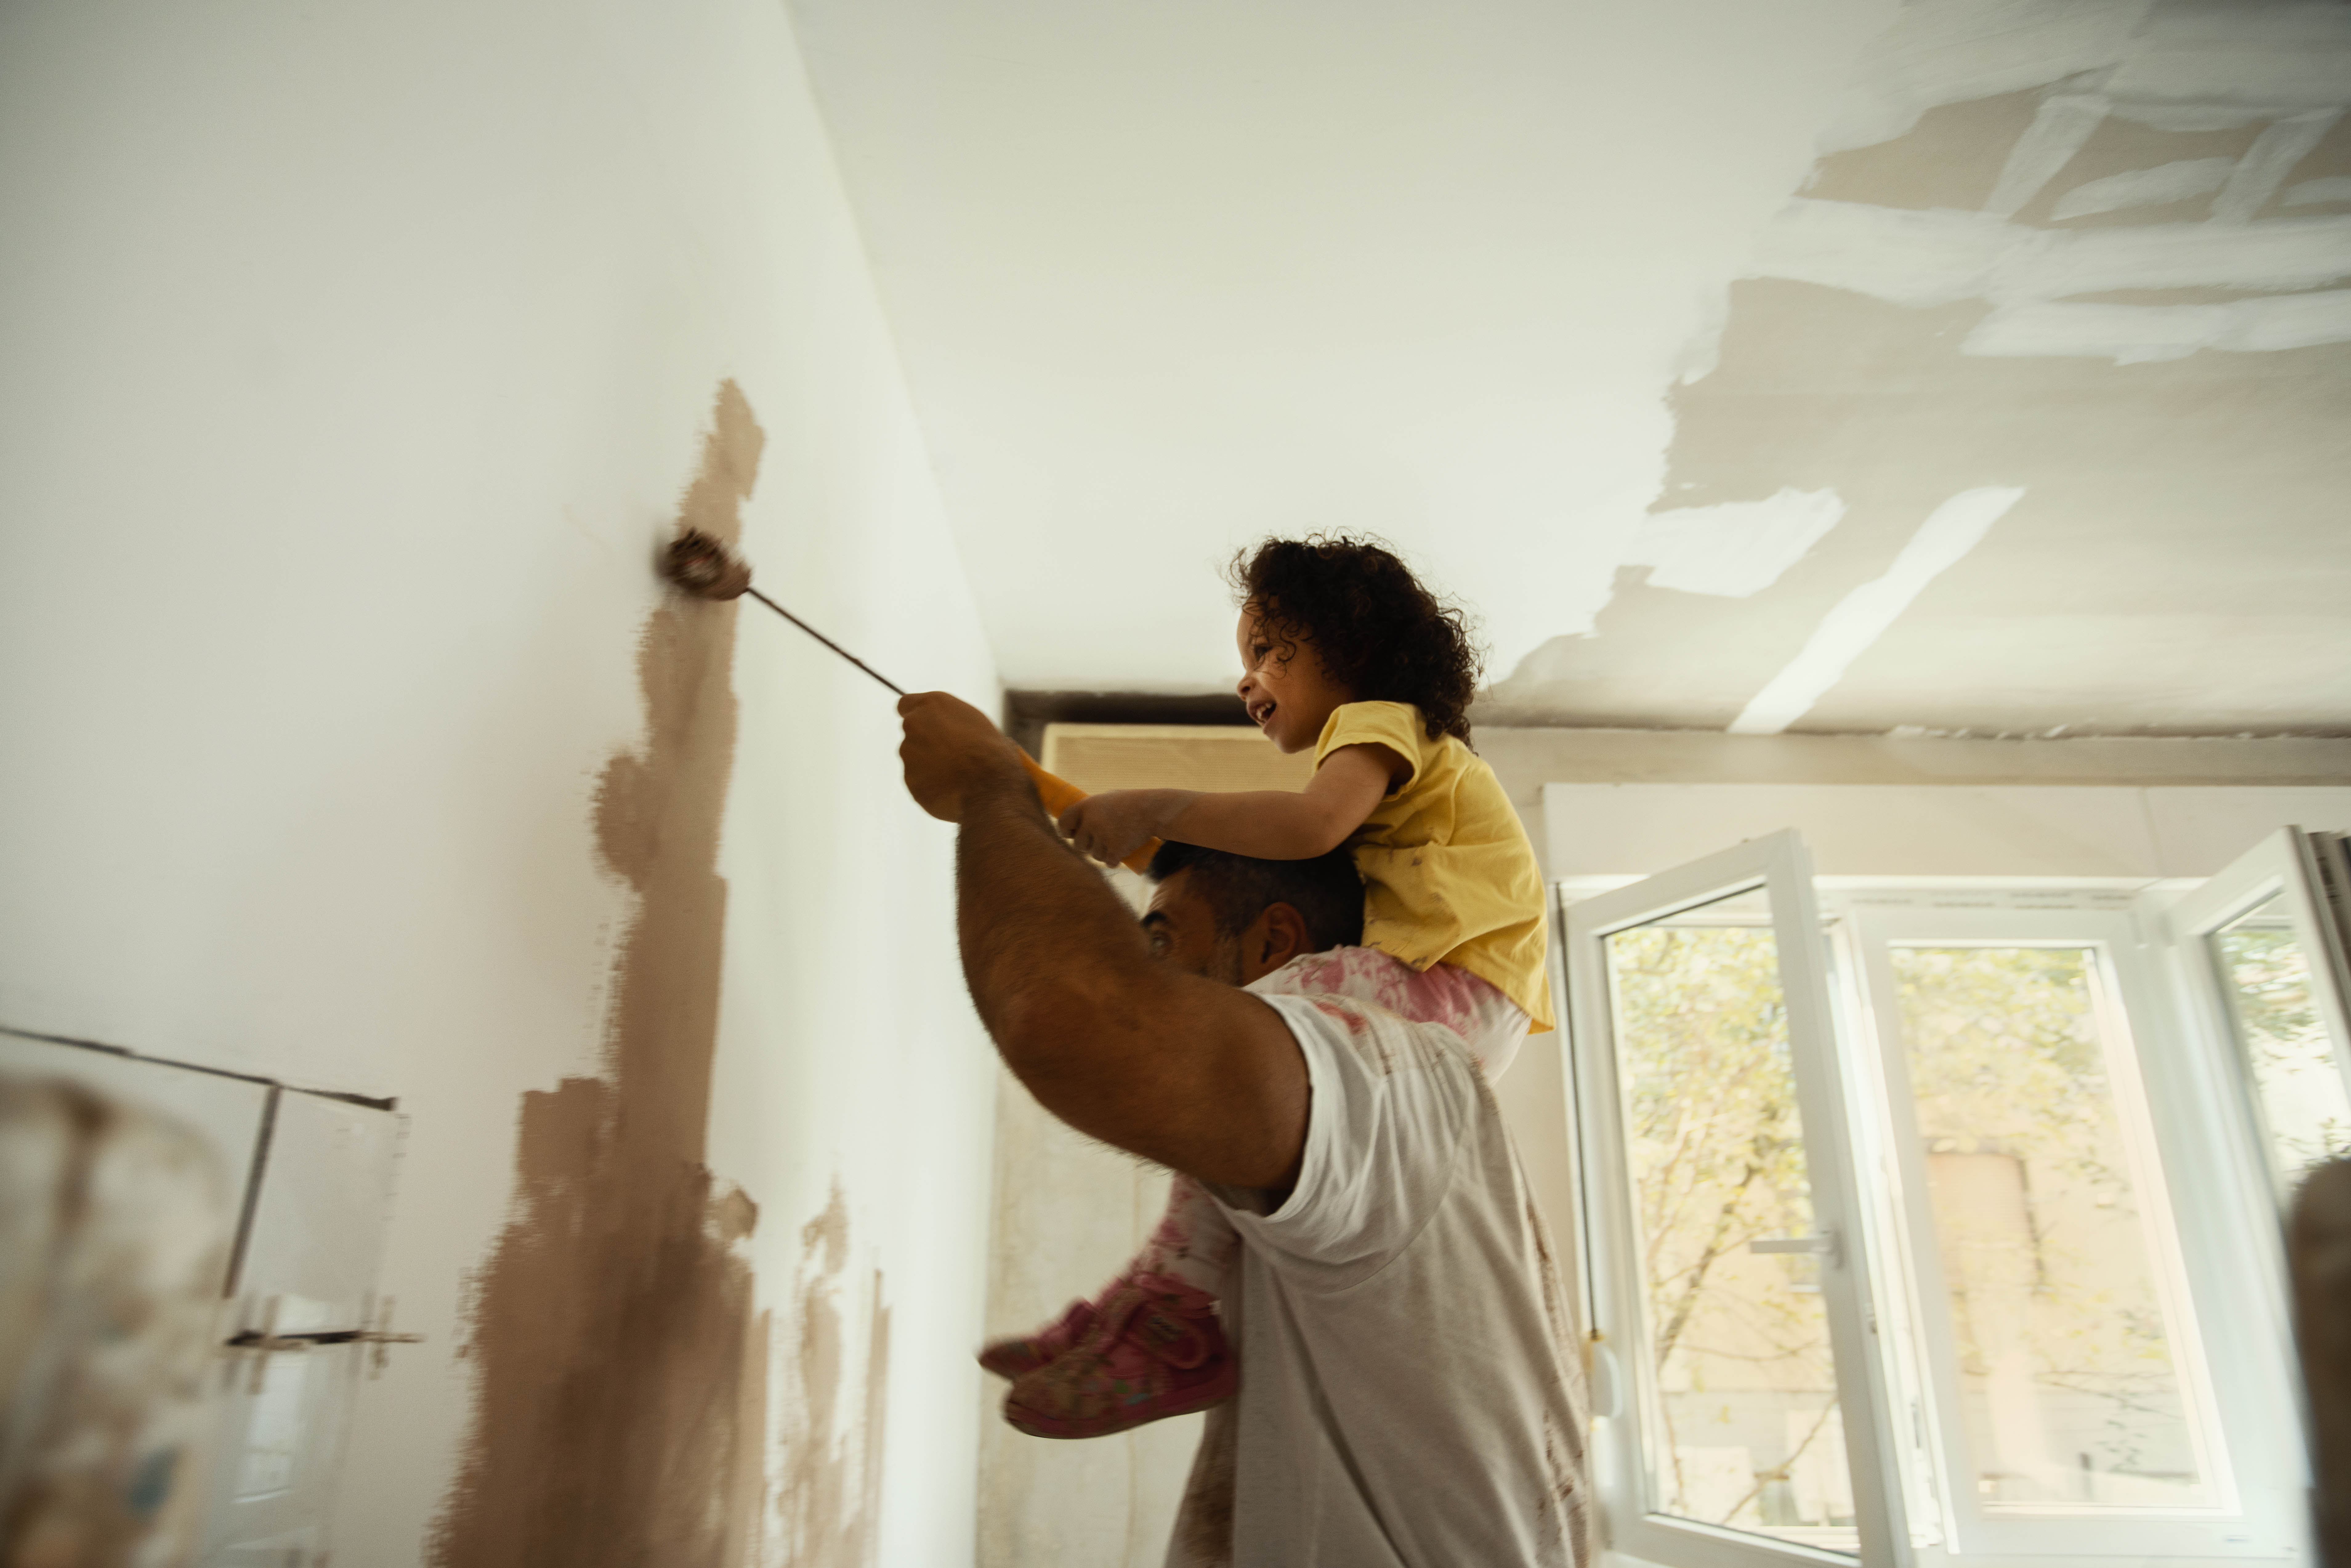
Be creative
When it comes to interior paint jobs, it’s usually all about solid colors on walls and ceilings. But don’t limit yourself—you can also liven up other areas of your home. Repainting cabinets is a relatively common choice, and you can even add a splash of color to furniture and rugs. And don’t forget the bathrooms; you can paint virtually any fixture you have in them.
A painting project doesn’t need to be painful. In fact, it can be a relaxing and fulfilling task when done correctly. If you prepare and paint properly and take your time, you can transform the canvas that is your home into a true masterpiece.
Share these tips to help friends and family brush up on painting techniques.
Up Next:
4 Home Projects to Invest in This Year

Posted in February 2021 on Dec 02, 2020